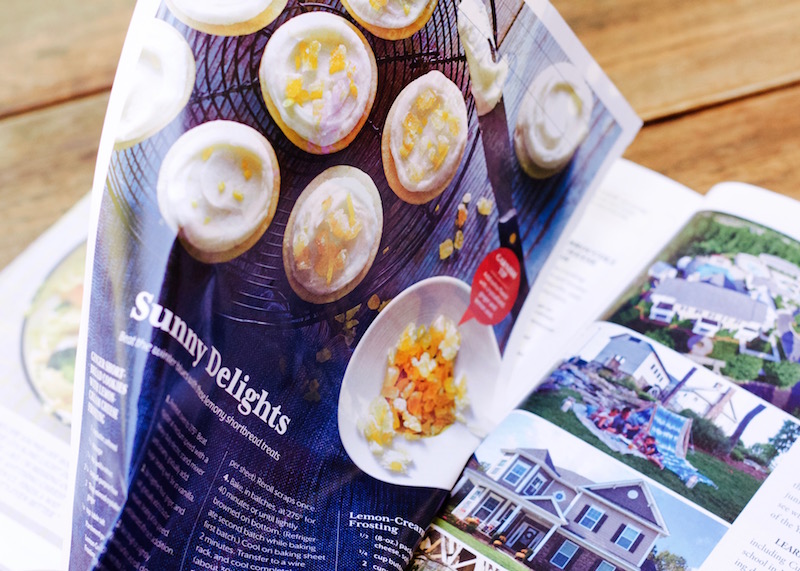
It started from a young age, my infatuation with magazine subscriptions. First it was Highlights for Kids, then Seventeen Magazine, Glamour and now it’s lifestyle and crafting publications. The titles have changed over time, but the obsession hasn’t. Also, this love of the printed page has caused magazines to pile up for years.
I love the thrill of finding a glossy new issue among a stack of junk mail. There’s something so romantic about a paper publication appearing in your mailbox every month. But, they do have a way of adding up. Plus, while I like to tell myself that I’ll go back someday and read past issues, I rarely do. But, that doesn’t mean I can’t find another great way to use old magazines!
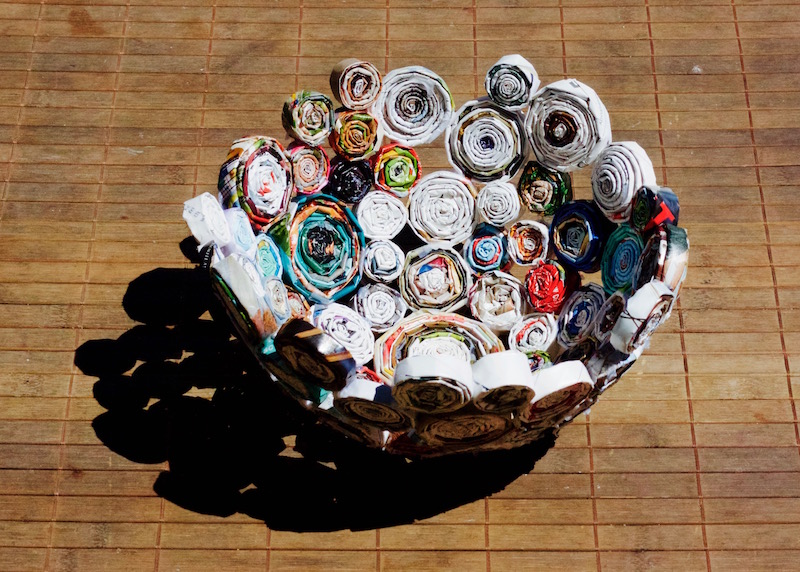
Enter: The Rolled Paper Bowl
This is a great craft for both children and adults. It’s both calming and meditative, while being simultaneously productive. The end result will bring you many years of enjoyment and you can customize it to fit your own needs.
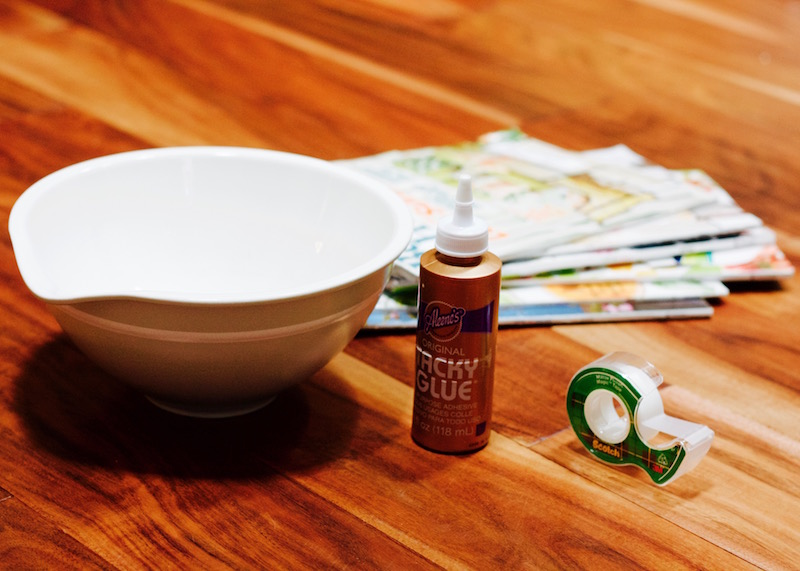
Supplies for this Project
- A few old magazines
- Glue (even Elmers would work)
- Scotch tape
- A mixing bowl
Step 1
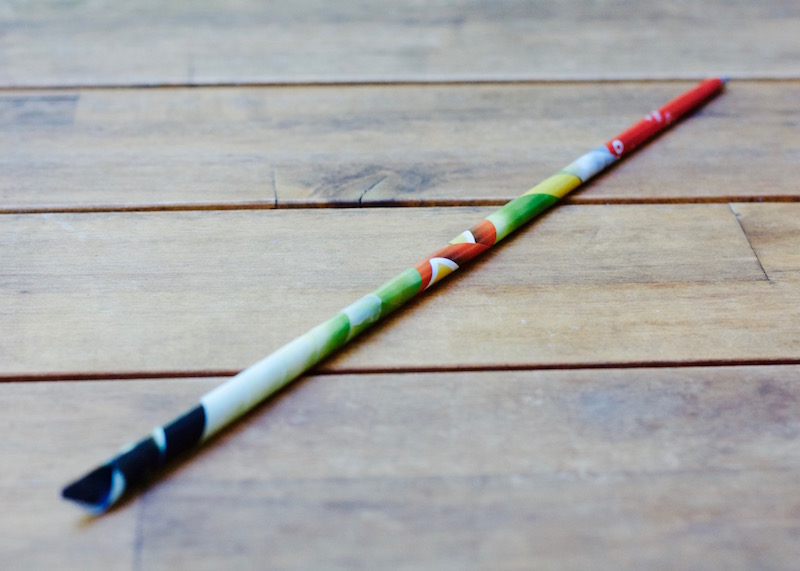
Start be tearing a page from the magazine. It’s nice if you can get a straight edge, but it’s not absolutely necessary.
Beginning at one corner, start to roll/ fold the paper diagonally. This is the most challenging part of this whole project.
You want this roll to be a small and tight as possible, and getting it started can be a little tricky. It helps to moisten your fingertips a little bit.
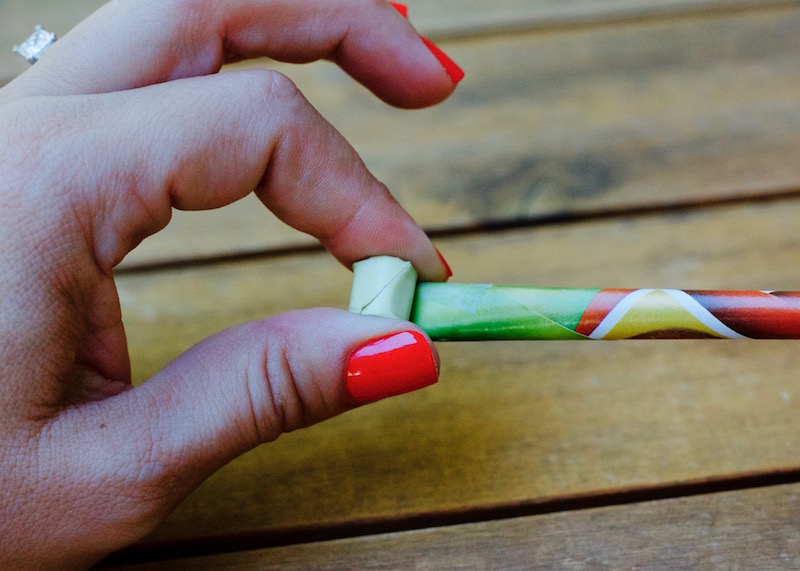
Once you have a long “stick”, use a mall piece of tape to secure the end.
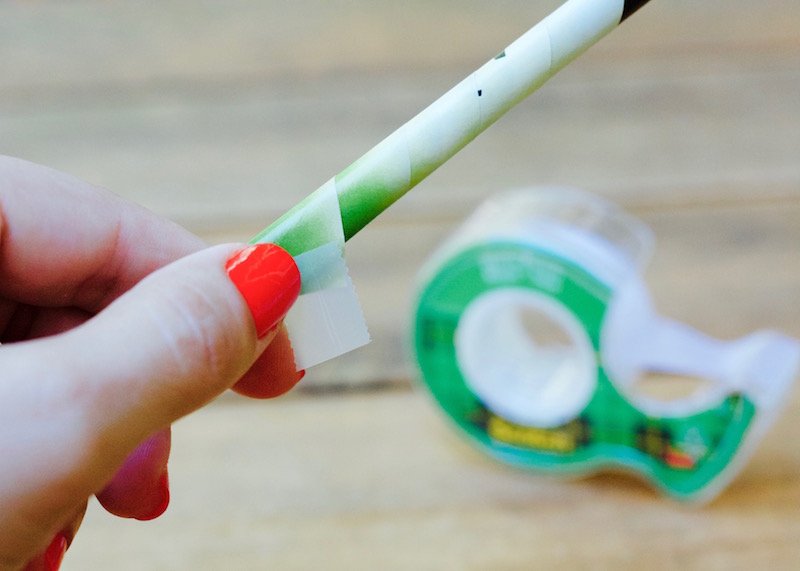
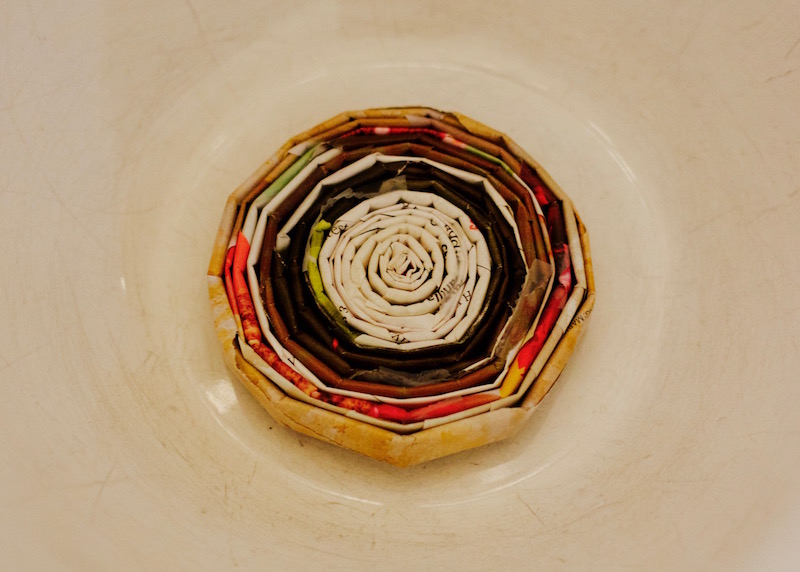
Step 2
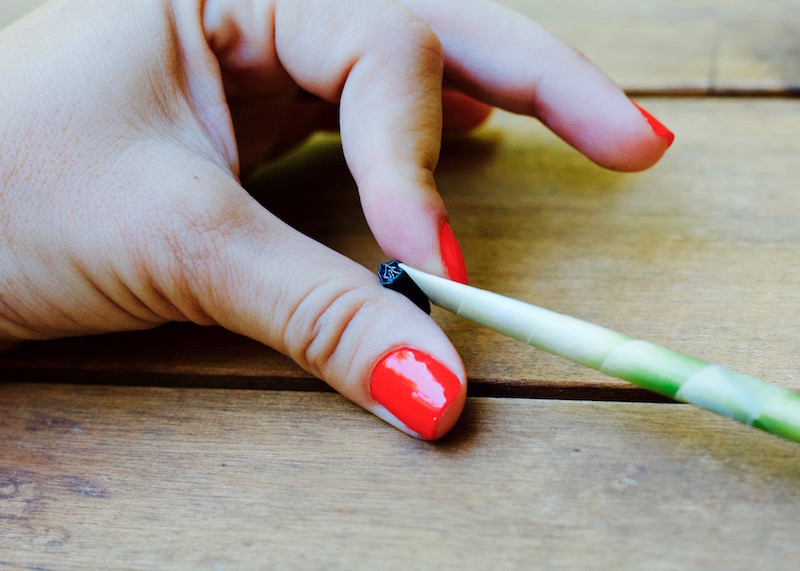
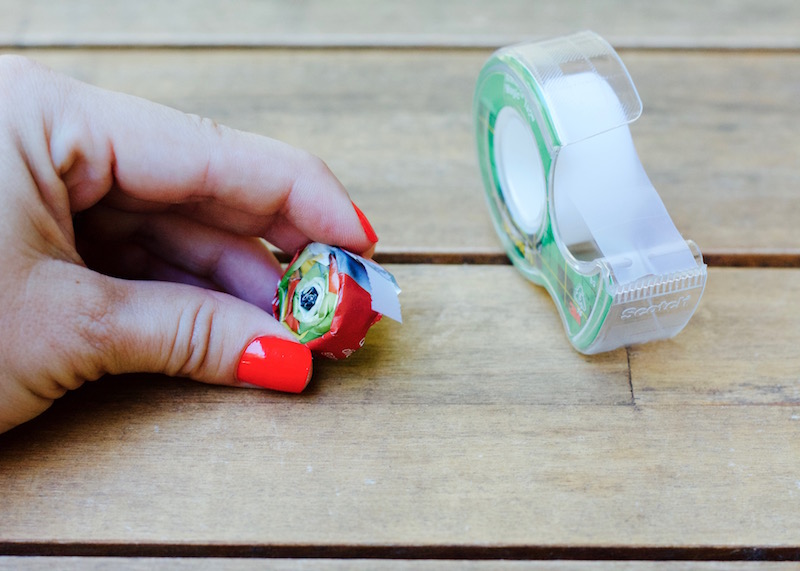
Then beginning at one of the pointed ends, begin to roll in the opposite direction. This way you will end up with a round spiral disk.
Again, use a small piece of tape to secure the end of the roll.
For the project you see pictured in this post, I used about two average sized magazines.
Variations:
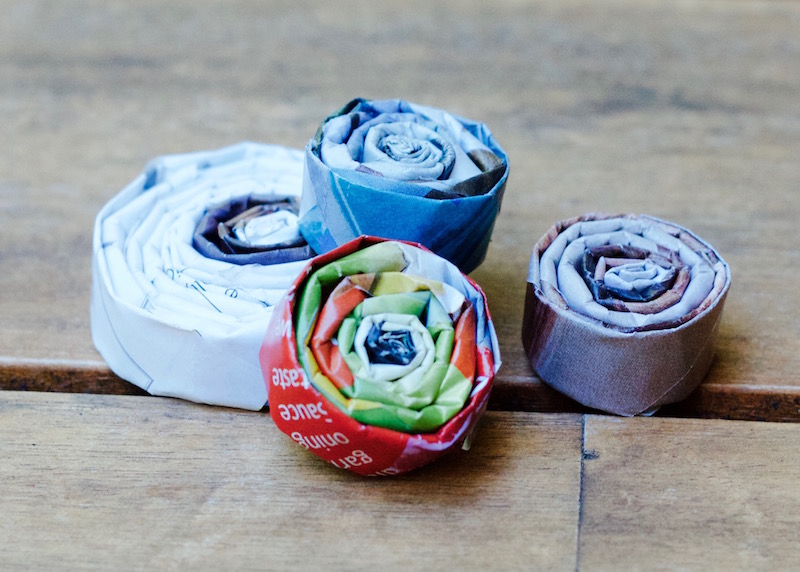
I wanted a neutral toned bowl with subdued colors, so I used any (and all) of the magazine pages. This included a lot of white pages with simple black text.
But, if you want your end result to be colorful, then you can chose pages that have a lot of saturated color printed on them, and less that are printed with plain text. Look for colorful ads and photos. Then, simply roll the page so that the colored part is on the outside.
If you have a lot of old magazines, you could even search for pages in only one or two colors. For example, your bowl could include just the complementary tones of blue and orange.
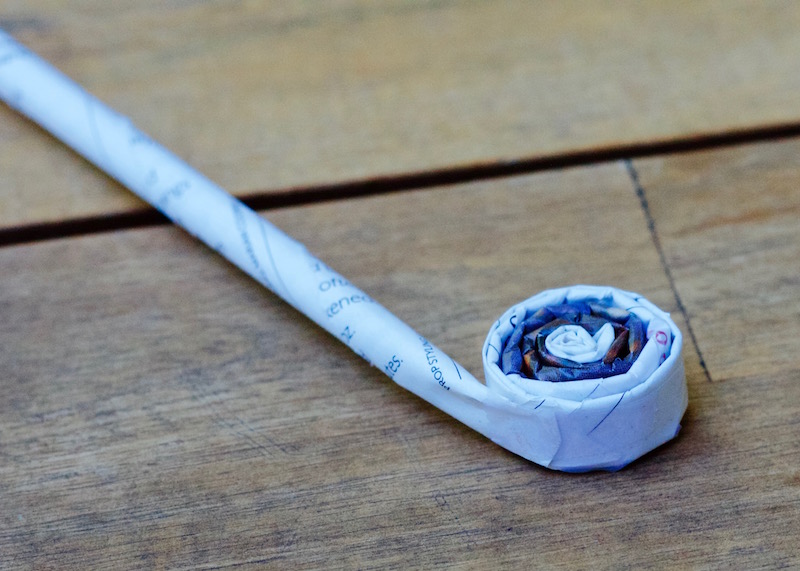
Another way to add interest to our final project is to vary the sizes of your paper spirals. This is quite simple to do. To make a larger spiral, simply add another paper “stick” to your completed disk. Just attach it with a piece of tape, and continue rolling.
For my bowl I created a variety of spirals, ranging from just one page in diameter to as many as three pages, all rolled continuously together.
Step 3
You will be creating your paper bowl by gluing it together inside of a mixing bowl. This bowl will act as a mold and hold the shape of the paper together while the glue dries.
So, next, you need to build your base. It is important that the bottom of your bowl is large enough (and flat enough) so that it will sit evenly on a flat surface. Therefore, you need to create one spiral that is larger than the rest, and fits in the bottom of the bowl that you plan to use as a mold.
For the mixing bowl I chose to use (a medium size) it took a total of five magazine pagers rolled into one spiral to have a disk large enough to support the rest of the finished paper bowl.
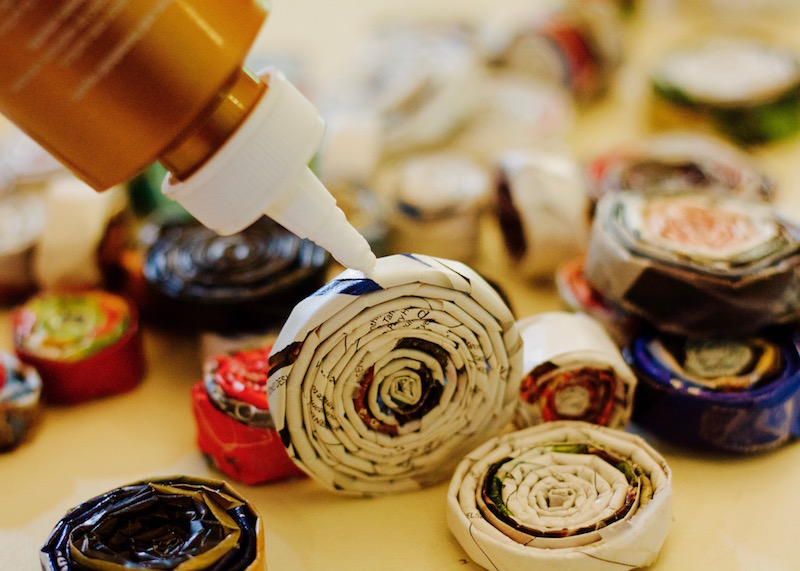
Step 4
It’s time to start glueing!
You can use any kind of glue that you have on hand for this step. Hot glue would be nice, because it dries fast, but even just white craft glue (like I used) works too.
The only adhesives I recommend you not use are Super Glue (because it will adhere to your mixing bowl too) and “school glue” because it’s washable and therefore not very durable.
Begin by placing your largest spiral in the bottom of the bowl. Then, chose any other spiral at random. Cover half of the edge of that circle with a line of glue. Place it in the bowl so that one side attaches to the larger disk at the bottom.
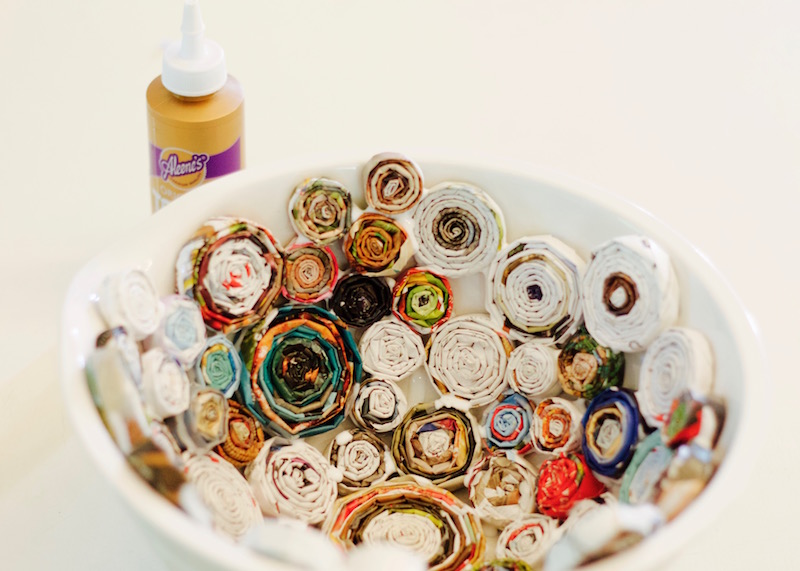
Continue on in this manner, working your way around and up the sides of your bowl until you have reached your desired height (or the top of your bowl).
Allow ample time for your creation to dry completely. I put mine out in the warm sunlight for a few hours. Then it was ready!

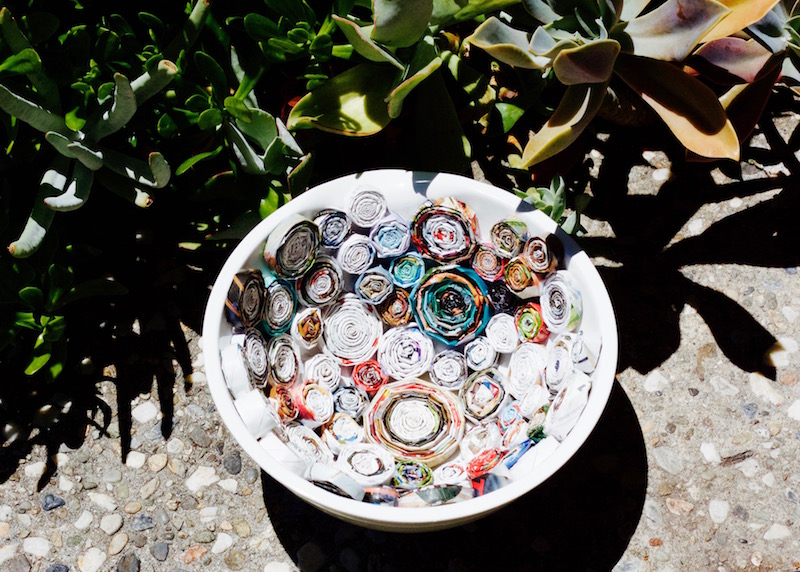
Finish
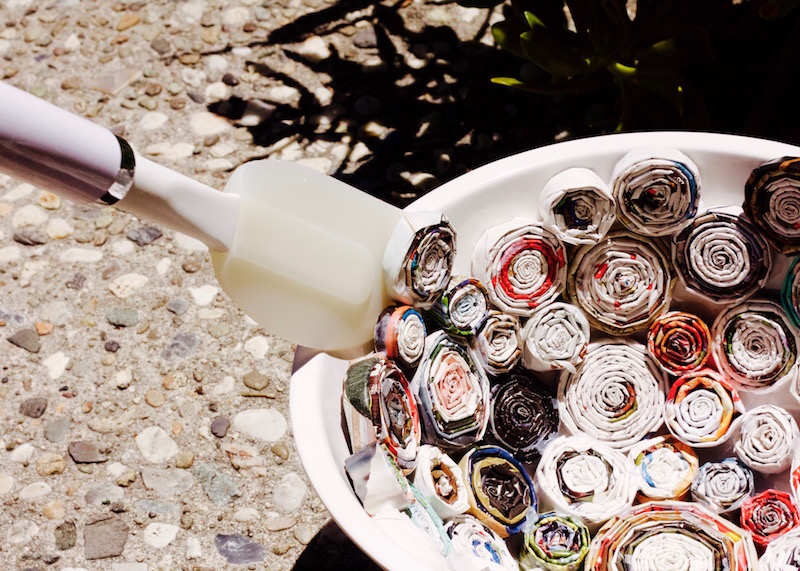
Remove and enjoy! If you find that some of the glue is sticking to your mixing bowl, you can use a rubber spatula to gently loosen the paper bowl from it’s mold.
Congratulations! You have successfully reused and re-purposed old magazines into a unique work of art. Use your new bowl to display treasures from nature, as a gift basket, or even just on it’s own as a statement piece.
Thanks for stopping by, and please check back soon for more fun craft ideas!