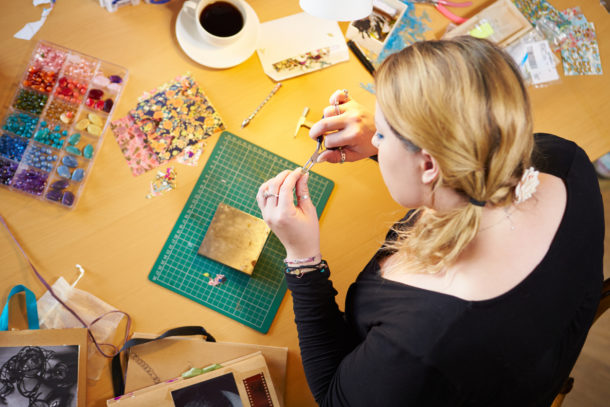
Greetings! If you've found this page, you have likely received one of my free ice dye sample kits (or you're a bot). I first learned about ice dye from Craftcation in 2019. I didn't actually get into the class because it was too popular, but I saw it in the parking lot and was inspired. I tried it at home and fell in love. Since then, I turned it into a diy kit. First as part of my monthly subscription box (since discontinued), and now as an a la carte kit. I also teach ice and shibori dyeing in Washington state and hope to get an online version launched this year. Please connect with me via Instagram or Facebook, or join my email list to hear when new kits and classes go live.
Happy Crafting!
![]()
 What's in Your Sampler Kit
* Soda Ash
* Fiber Reactive Dye (colors vary)
* Handkerchief
* Rubberband
* Craft Sticks
You will also need
* 2 small disposable paper or plastic cups (or a 1 cup mason jar)
* rubber or disposable gloves
* scissors
Safety
It is recommended that you wear gloves while doing this project as the chemicals can be abrasive to your skin and the dye will stain. If you do get dye on your hands, warm water will be more effective in removing it, but it may take a few days to wash out.
Use this kit in a well ventilated, but not windy area. Do not breathe in the dye or soda ash. If you are sensitive, you may want to wear a mask.
About Soda Ash
In the world of dyeing, soda ash helps to loosen the fibers in your fabrics so that the dye colors can more easily bond. By pre-soaking your fabric, you allow more vibrant colors to be attained.
About Fiber Reactive Dye
Fiber reactive dye bonds to the fibers at the molecular level, making it permanent and colorfast. It is designed for plant based fibers including cotton, linen, rayon and hemp.
Step 1
Fill one of the cups with lukewarm water. Dissolve 1 tsp. soda ash into the water and mix. Soak your fabric in this solution for 10 minutes. Remove from liquid and ring out excess water. Do not dry.
Step 2
Using scissors, cut the mesh bag on the side seams to the halfway point. Insert the mesh bag to the inside of the 2nd cup, folding the top edges from the inside to the outside. The bottom of the bag should hang 1-2 inches. above the base of the cup.
Step 3
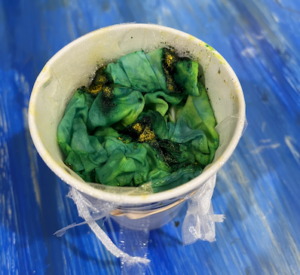
Scrunch your fabric and insert into the base of the mesh bag. Pile a layer of ice cubes over the fabric.


Step 4
Using a stick, sprinkle small amounts of dye powder over the ice. You do not need to completely coat each cube.
Step 5
Wait. Let ice melt for 4-6 hours. Leaving overnight is even better, as it will give the dye more time to develop brighter colors.
Step 6
When ice is completely melted, rinse fabric under cool water. Twist and ring out the fabric until water runs clear. Wash with like colors in cool water for the first few washes. The heat from the dryer or an iron can help to set the colors too.
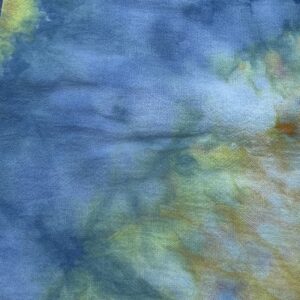
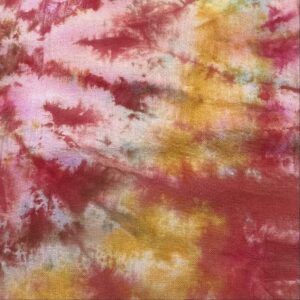
Were you surprised by the colors? One of the fun things about ice dyeing is the often unexpected specks or blocks of varied colors. This happens because most dye are created from just a handful of pure pigments. A teal dye will have bits of blue and yellow and likely produce some green as well. A lavender dye will have bits of blues and reds. For this project I intentionally chose dyes that are not pure pigments so that you'd have fun seeing the splits. I've started creating a library of color swatches. Check them out here.